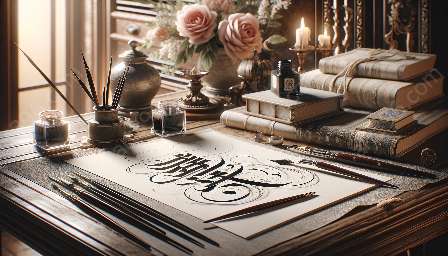
Calligraphy is a beautiful and ancient art form that requires precision, skill, and a keen eye for detail. One of the most intriguing aspects of calligraphy is the use of ink and the myriad of colors that can be created to enhance the visual appeal of the written word.
When it comes to calligraphy, the type and quality of the ink used can greatly influence the final look of the piece. While there are many commercially available ink colors, creating your own custom hues can add a personal and unique touch to your calligraphy work.
Understanding the Basics of Calligraphy Inks
Before delving into the world of mixing and creating custom calligraphy ink colors, it's essential to understand the basics of calligraphy inks. Calligraphy ink is specifically formulated for use with calligraphy pens and is designed to flow smoothly, dry quickly, and produce crisp, well-defined lines.
There are various types of calligraphy inks, including traditional dip pen inks, fountain pen inks, and modern brush calligraphy inks. These inks come in a wide range of colors, from classic black to vibrant hues, and are typically water-based or pigment-based.
Water-based inks are suitable for beginners and are easy to clean, while pigment-based inks offer more intense and permanent colors. Some calligraphy inks also contain metallic pigments for added shimmer and flair.
Materials Needed to Mix Calligraphy Ink Colors
Before you start experimenting with mixing your own calligraphy ink colors, gather the necessary materials. You will need:
- Calligraphy ink in primary colors (black, red, blue, yellow)
- Small empty ink bottles or containers
- Droppers or pipettes for precise measurements
- Small mixing cups or palette
- Distilled water
- Disposable gloves to protect your hands from staining
- Paper towels for cleaning and testing colors
Basic Color Theory for Mixing Ink
Basic color theory plays a crucial role in mixing calligraphy ink colors. The primary colors- red, blue, and yellow- are the foundation for creating all other colors. By combining these primary colors in varying proportions, you can produce an infinite range of secondary and tertiary colors.
Understanding the color wheel and familiarizing yourself with complementary, analogous, and contrasting color combinations will allow you to create harmonious and visually appealing ink colors for your calligraphy work.
Techniques for Mixing Calligraphy Ink Colors
Once you have a good grasp of color theory, you can begin experimenting with mixing your own calligraphy ink colors. Here are some techniques to get you started:
Color Layering:
Start by placing a small amount of one color into a mixing cup or palette. Gradually add small amounts of another color and mix thoroughly after each addition. This technique allows you to create subtle variations and gradients within a single color family.
Color Dilution:
You can create lighter shades of a color by diluting it with distilled water. Mix a small amount of ink with a few drops of water until you achieve the desired transparency and intensity.
Color Mixing Ratios:
Experiment with different ratios of primary colors to create secondary and tertiary colors. Keep track of your mixtures and take notes to replicate successful colors in the future.
Tips for Achieving Unique and Beautiful Ink Colors
Here are some additional tips to help you achieve stunning and unique calligraphy ink colors:
- Use a small palette or mixing dish to control the amount of ink you're working with and minimize waste.
- Test your ink colors on a separate sheet of paper to ensure the desired shade and consistency before using them for your calligraphy writing.
- Be patient and take your time when mixing colors. Small adjustments in proportions can make a big difference in the final hue.
- Clean your mixing tools thoroughly between each color to avoid contamination and unwanted color shifts.
- Keep a detailed record of your custom ink recipes for future reference.
By mixing and creating your own calligraphy ink colors, you can add a personal touch and elevate your calligraphy work to new heights. Experiment with different combinations, embrace the creativity, and enjoy the journey of discovering a spectrum of captivating colors to bring your calligraphy pieces to life.

